
Simple Android Tips from Google IO
by Stephen Fluin 2011.05.10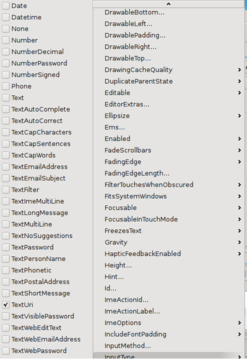
This morning I watched Google IO and learned several important details about android development that are not readily transparent as one begins developping Android applications. Fortunately, these items are extremely easy to address, and with a few minor changes, the usability and quality of your applications will drastically improve. I loved the presentations given during Google IO, and I could watch days of these sorts of tips, as Android development is a vast and expansive topic.
Tip 1: Specify TextType
This tip has to do with any EditText objects that you include in your application. When building android applications with text fields, you should inform the platform what the intent of the edit text is. You can do this in one of two ways. First is by editing the layout used by your application. Here is an example layout that includes an EditText that has been specified as a URL. This will ensure that the keyboard, whenever possible, shows the most appropriate keys for URL entry.
Use the code as follows:
The second menu is to set the setting via the UI.
Tip 2: Specify Audio Stream Control
This one is a quick fix. By default in Android the audio hard buttons control whatever audio is most foreground. This means that if you have audio playing, it will control that audio, otherwise it will default to the ringer. This one is easy to fix by calling the following code in your OnCreate:
Tip 3: Specify Target SDK Version
The final tip is something that I most likely missed as part of Android Development 101. By default, your application will not specify a minimum or target SDK. Not specifying a target SDK version means that the Android platform will assume your application uses the lowest SDK version, or uses the minimum SDK version that you specified. This is becoming more important starting with Honeycomb, because Honeycomb uses the Target SDK version for choosing some of the visual elements to show. The example that lead to my discovery of this was the menu icon. If you target the wrong SDK version, the menu icon will be shown, regardless of if you have a menu or not.
Fix it by specifying the correct versions. For me at the time of writing, they are as follows:
permalink